
Crafting industry-leading products, with over a decade of dedication to the precision manufacturing of bending machines, we now guide you through the proper installation of bending dies on a bending machine:
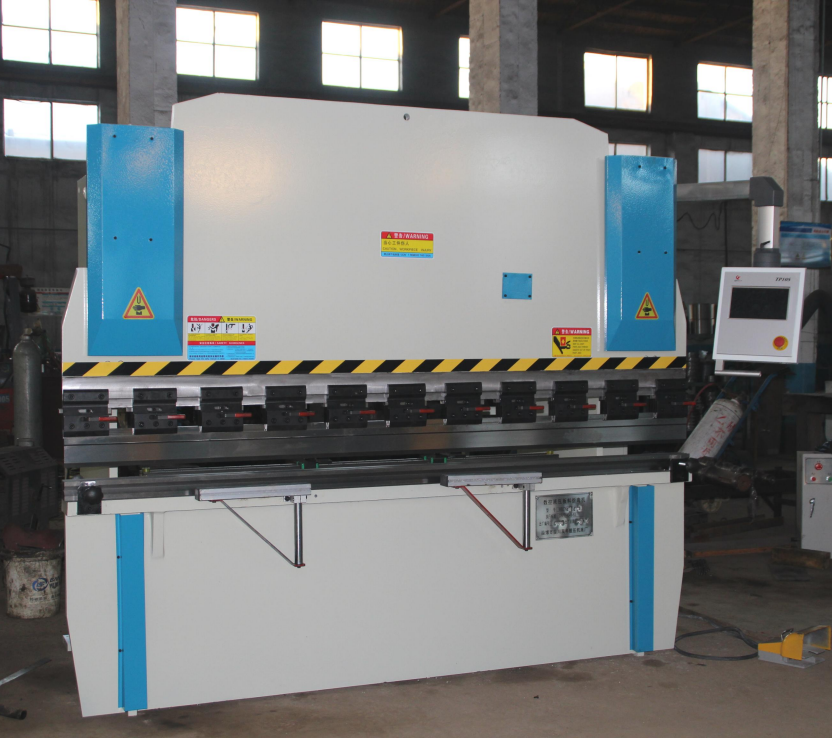
Bending machines are critical equipment in sheet metal processing, and their processing accuracy and efficiency largely depend on whether the dies are installed correctly. Improper die installation may result in workpiece dimensional deviations, equipment damage, or even safety incidents. Therefore, mastering the correct die installation method is crucial. This article will provide a detailed introduction to the installation steps, precautions, and common issue resolution for bending machine dies.
1, Preparations before installation
(1)Check the condition of the mold and equipment.
Before installation, confirm that the bending machine is powered off and check the condition of the mold and equipment.
The mold surface should be free of cracks, wear, or deformation, and the upper and lower molds should match the processing requirements. At the same time, check that the bending machine workbench and slide block surface are clean to avoid impurities affecting installation accuracy.
(2)Selecting the appropriate mold
Select a mold that matches the thickness, material, and bending angle of the material being processed. Typically, the tip angle of the upper mold (punch) should match the opening angle of the lower mold (die) to ensure even force distribution during the bending process.
(3)Prepare installation tools
Installing molds usually requires hex wrenches, hoisting equipment (such as overhead cranes or forklifts), and necessary adjustment tools (such as spirit levels). Ensure that all tools are available to avoid interruptions during installation due to missing tools.
2, Basic steps for mold installation
(1)Installing the lower mold
Place the lower mold on the mold base of the bending machine workbench, ensuring that it is aligned with the center line of the machine.
Use fixing bolts to preliminarily secure the lower mold, but do not fully tighten them to allow for subsequent fine adjustments.
Use a level to check the horizontal alignment of the lower die, and adjust the shims as necessary to ensure it is level.
After confirming the position is correct, gradually tighten the fixing bolts in a diagonal sequence to ensure even force distribution.
(2)Install the upper mold
Use lifting equipment to lift the upper mold smoothly and move it slowly to the bottom of the slide block.
Adjust the height of the slide block so that the upper mold can be smoothly inserted into the slide block mold base.
Secure the upper mold with bolts or quick-clamp mechanisms to ensure that it is vertically aligned with the lower mold.
Check the tightness of the upper mold to prevent loosening during processing.
(3)Adjusting the mold gap
Adjust the gap between the upper and lower molds according to the thickness of the sheet metal. Typically, the gap should be 1.2 to 1.5 times the thickness of the sheet metal.
Precise control can be achieved through the CNC system or manual fine-tuning mechanism of the bending machine to ensure smooth material flow during bending and prevent damage or excessive springback.
(4)Test bending and fine adjustment
Before formal processing, use scrap material to test the bending angle and forming effect.
If the angle does not meet the requirements, adjust the slide stroke or mold position until the desired effect is achieved.
3, Precautions during installation
(1)Safe operation
When installing the mold, make sure the equipment is turned off to avoid accidentally turning it on by touching the switch.
When hoisting the mold, operate smoothly to prevent the mold from falling or colliding with the equipment.
(2)Mold alignment
The upper and lower molds must be strictly aligned, otherwise it will cause bending line deviation, workpiece asymmetry, or even mold damage.
Laser alignment instruments or mechanical alignment tools can be used to assist in adjustment and improve installation accuracy.
(3)Fastening force control
Fasteners should be tightened evenly to avoid deformation of the mold due to excessive tightening on one side.
It is recommended to use a torque wrench and tighten the fasteners according to the torque values recommended by the equipment manufacturer.
(4)Lubrication and maintenance
Before installation, apply a small amount of grease to the mold contact surface to reduce wear.
Regularly check the mold fastening to prevent loosening after long-term use.
4, Common problems and solutions
(1)Inconsistent bending angles
Possible causes: Upper and lower dies are not aligned, uneven gaps, or incorrect slide stroke settings.
Solution: Readjust the die position, ensure even gaps, and calibrate the bending parameters.
(2)Indentations on the workpiece surface
Possible causes: Impurities on the die surface or unclean sheet metal.
Solution: Clean the dies and sheet metal, and replace worn dies if necessary.
(3)Mold loosening or displacement
Possible causes: Fastening bolts are not tightened or equipment vibration is excessive.
Solution: Retighten the bolts and check the stability of the equipment.
Proper installation of bending machine dies is key to ensuring processing accuracy and equipment service life. Operators must strictly follow standard procedures during installation and regularly inspect die conditions during use. Proper die selection, precise adjustments, and standardized maintenance can effectively improve bending quality, reduce scrap rates, and ensure safe and efficient production.
If you are interested in bending machines, please contact us.
 Address:Room 1202, Detaitang Building, No. 118 Huaguang Road, Zhangdian District, Zibo, Shandong
 WhatsApp:+8615653328535
 Wechat: +8615965331535
  E-mail:zs@sdsmachinery.com


