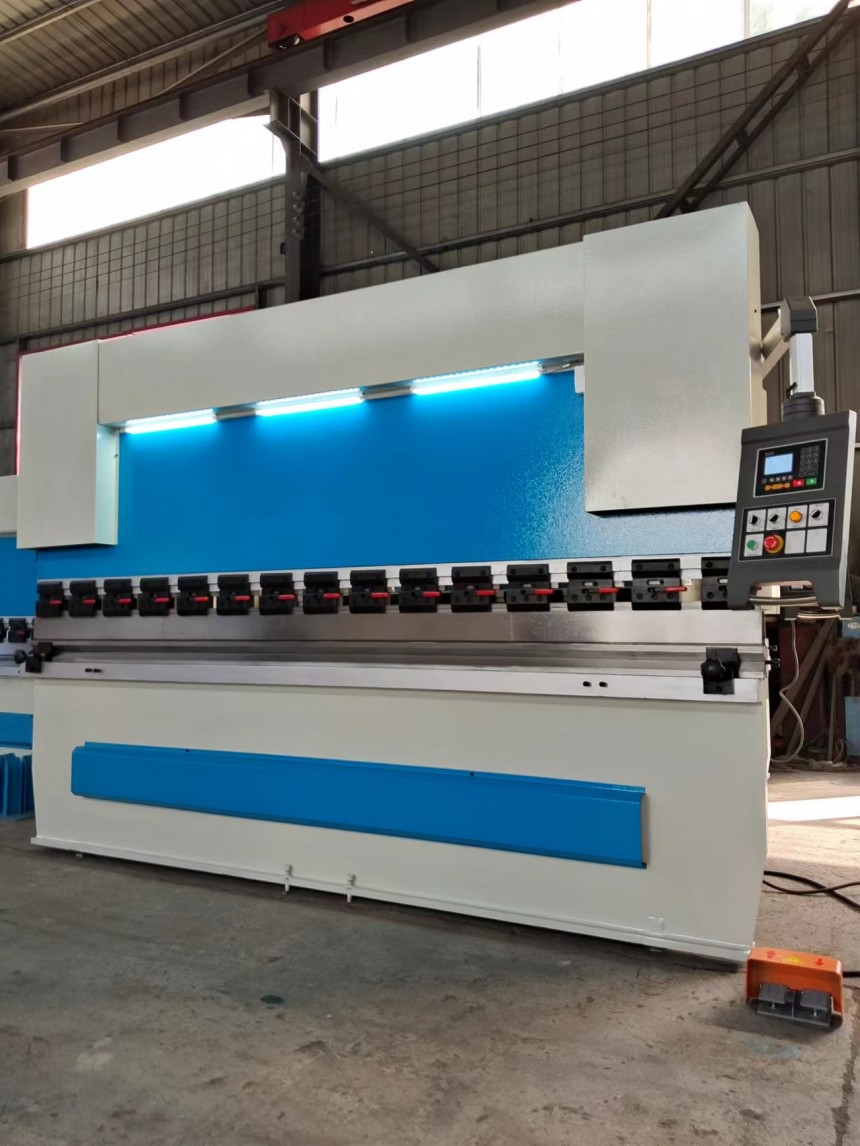

We are a professional bending machine manufacturer with over 10 years of industry experience. Today, we would like to introduce the abnormal detection and treatment of bending machine to you:

Bending machine as the core equipment for sheet metal processing, its operating status directly affects the production efficiency and product quality. In practice, the equipment may be due to mechanical wear and tear, parameter misalignment or improper operation of all kinds of abnormalities. This article systematically introduces the identification of common abnormalities, processing steps and preventive measures.
1, Mechanical anomaly detection and processing
Abnormal slider movement
When the slider downstream jitter or uneven speed, first check whether the hydraulic system pressure is stable. If the pressure gauge shows fluctuations of more than ±5%, it is necessary to investigate whether the oil circuit is mixed with air or hydraulic oil pollution. Processing steps include: open the cylinder exhaust valve to discharge air, take oil samples to test the degree of contamination, if necessary, replace the filter element and hydraulic oil. Simultaneously check the guide rail lubrication to ensure that the automatic lubrication pump is working properly.
When measuring the clearance between upper and lower dies using a 0.02mm precision feeler gauge, adjustment is required if the deviation exceeds 0.05mm across the entire length. During correction, first loosen the die fastening bolts, then use a dial indicator with shims to calibrate parallelism. For multi-V-groove dies, special attention must be paid to the alignment of each groove centerline—a deviation exceeding 0.1mm will result in inconsistent bending angles.
2, Electrical System Abnormal Handling
Servo motor overload alarm
When the control system displays E-05 overload code, stop the operation immediately. Check step by step: whether the motor cooling fan is running normally, whether the coupling is loose, whether the lubricant level of the gearbox is up to standard. If there is no abnormality in mechanical transmission, use megohmmeter to test the insulation resistance of motor winding, the normal value should be ≥1MΩ.
Linear scale reading abnormality
3, Typical hydraulic system failures
Failure to maintain pressure
Under 10MPa test pressure, a pressure drop of more than 0.3MPa within 3 minutes indicates system leakage. Focus on checking whether the sealing ring of the master cylinder is worn or not, by manually pressurizing to 5MPa and observing the piston rod to see whether there is any oil film formation. Use a special tool to avoid scratching the cylinder wall when replacing the sealing ring.
Abnormally high oil temperature
When the oil temperature continuously exceeds 60℃, check the temperature difference between the inlet and outlet of the cooler. If the temperature difference <5 ℃, the cooling efficiency is insufficient, need to clean up the heat sink dust. At the same time, check whether the oil pump suction pipe is clogged, the filter pressure difference of more than 0.3MPa must be replaced.
4, Prevention of operation-related abnormalities
Material positioning deviation
Install laser positioning aid system to ensure the repeatability of material feeding ≤ 0.1mm, for workpieces longer than 2m, it is recommended to add intermediate support frame to prevent deformation by self weight. Calibrate the positioning accuracy with a standard test block every shift.
Bending Angle Exceeds the Difference
Establish the mold compensation parameter library, and set the overbending compensation value of 0.1°-0.5° for different material thickness. The actual thickness of the plate must be verified before processing, the thickness deviation of ± 0.1mm will lead to angle changes of 1 ° -2 °.
5, Systematic Maintenance Recommendations
Daily Checklist
Includes hydraulic oil level, guideway grease amount, air supply pressure three basic indicators, record the equipment startup current as a benchmark for comparison.
Monthly maintenance program
Clean the tank breather, tighten all electrical terminals, test the hydraulic oil contamination (NAS grade should be ≤8). Simultaneous calibration of pressure sensor, error over 2% of full scale needs to be replaced.
Annual overhaul points
Disassemble and check the wear of master cylinder piston, the standard is radial clearance ≤ 0.05mm. replace all O-ring seals, refill gearbox lubricating oil. Carry out horizontal calibration of the body, tilt ≤ 0.02mm/m.
In practical application, it is recommended to set up a quick check manual for abnormal codes, and make flow charts of common fault phenomena, detection steps and treatment programs to be posted next to the equipment. Operators need to master basic judgment skills through professional training, such as identifying the degree of contamination through the color of the oil (normal yellowish transparent), and determining the stage of bearing wear through the frequency of abnormal noise. Equipment manufacturers should provide recommendations for preventive maintenance intervals based on actual working conditions, especially for high-load production users need to shorten the maintenance interval by 30%.
If you are interested in bending machines, please contact us.
 Address:Room 1202, Detaitang Building, No. 118 Huaguang Road, Zhangdian District, Zibo, Shandong
 WhatsApp:+8615653328535
 Wechat: +8615965331535
  E-mail:zs@sdsmachinery.com